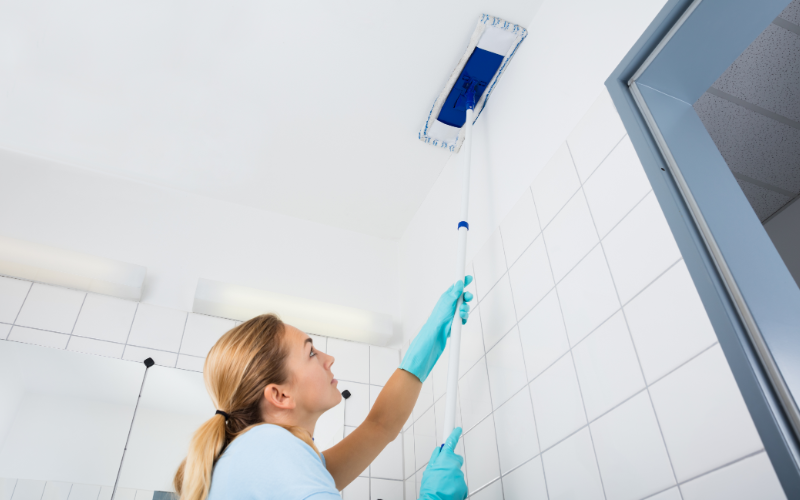
Mould treatment is important even on ceilings as it is one of the common problems faced in your house. It might be unsightly to the general appearance of your home and risky to your health. Whether it’s a few small patches or a more widespread issue, a mouldy ceiling should be treated right away to ensure a healthy living atmosphere. This step-by-step guide describes measures that must be taken for mould treatment and removal from your ceiling, even if you do it for the first time.
Knowing Why You Have a Mouldy Ceiling
Aside from getting into the details of how mould treatment is done effectively, one must first know why moulds develop on ceilings. Moulds usually grow in places where moisture is present. The causes are poor ventilation, leaking roofs, and condensed steam from showers or cooking. Once you identify the cause, you can treat the mould that has formed and avoid it in the future.
Moisture management is the most crucial thing in mould prevention. Ensure your house is well-ventilated, especially areas that retain moisture (like the bathroom and kitchen). Other ways to prevent mould are checking your roof and plumbing systems regularly to find small leaks before they become major mould concerns. It helps you know some of the underlying issues of your mouldy ceiling.
LEARN MORE: How to tell if I have mould
Preparing for Mould Treatment
Once you have found the cause of the mould, it is time to prepare for mould treatment. Safety comes first because mould spores are not healthy to inhale into your body. Equip yourself with protective gear like gloves, safety goggles, and masks just in case of inhalation. You can also cover furniture and flooring in the room with plastic sheets that protect them from cleaning agents and mould debris.
It is also equivalent to the early preparation of all necessary tools and materials: a ladder, cleaning agents, such as mould remover or a mixture of water and white vinegar, scrub brushes, and sponges. For the wider areas, you can also be prepared with a paint scraper or sandpaper to remove the stubborn mould growths. Proper preparation will enable you to accomplish the mould removal process effectively and safely.
How to Remove Mould from a Ceiling: A Step-by-Step Guide
Wear your protective gear and have all your tools ready; now is the time to begin the mould removal procedure. First, you must open all windows and doors to provide a well-ventilated room that minimises mould spore exposure. Following that, evaluate the mould growth on your ceiling.
- Cleaning the Surface: Lightly dampen the mouldy ceiling using water. It reduces mould spores spreading during cleaning. Apply your preferred mould treatment solution onto the visible area with a scrub brush or sponge. Use light circular scrubbing motions on the ceiling until any mould that may be visible disappears to avoid tearing the ceiling.
- Rinsing the Ceiling: After scrubbing mould away, rinse the area with clean water. Remove the cleaning solution left in the area that may contain some residues that can also attract dust and dirt, eventually giving way to mould growth.
- Drying the Area: Proper drying will prevent mould from returning. Pat the ceiling with a dry cloth and leave the room well-ventilated, allowing it to dry out. Use a fan or a dehumidifier to speed up the drying process, especially in highly humid areas.
- Dealing with Resistant Stains: For resistant mould stains that don’t easily come off during the initial cleaning, you’ll have to employ a more heavy-duty mould remover or even take sandpaper to scrape the top layer off the ceiling. Be sure not to harm the underlying material in this case.
Future Mould Growth Prevention
Once you remove mould from the ceiling, it is crucial to know how you may be able to prevent it from growing again. As previously mentioned, mould prevention involves preventing moisture. Allow the area to be well-ventilated by providing fanning in the bathroom or kitchen or opening a window. One may also consider the installation of a dehumidifier, which might be instrumental in maintaining low levels of humidity, especially in areas more predisposed to moisture.
Regular home maintenance also plays an important role in the prevention of mould. Check for leaks in the roof and plumbing and regularly inspect areas of your home that are more susceptible to mould, such as basements and attics. If you are vigilant and look after any moisture issues promptly, there won’t be a mouldy ceiling; in such a way, you can breathe healthy air. Once your ceiling is mould-free and dried, you may notice that it could do with cosmetic attention. Most mould can leave discolourations or stains that mere cleaning might not wholly remove, for which a fresh coat of paint can help restore the appearance of your ceiling.
Before painting, a mould-resistant primer is desirable. It would help to cover other stains and provide an extra coat of protection against mould in the future. High-quality ceiling paint should be chosen that is designed to bear moisture and mould effectively, especially in rooms that tend to be more humid. The ceiling will look clean, bright, and free of mould with this finishing touch!
If you’re having mould problems, consider contacting Mouldgone today. Check out our website and get in touch to know how we can get rid of the mould on your ceiling for good!


